Pinnacle Studio treats still graphics as if they were titles. As explained, you can put titles in either the video track or the title track of the timeline. If you put a title in the video track, it will be a full-screen title. If you put the title in the title track, it will be an overlay title, which means the words will appear over a video image.
Because Studio treats still photos like titles, you can use the title track to overlay your own custom graphics over a video image. To try it, follow these steps:
- Open Microsoft Paint by choosing Start➪All Programs➪Accessories➪Paint.
- In Paint, choose Image➪Attributes. The Attributes dialog box opens.
- Enter the height and width of the video image used in your video project, and then click OK. If you’re working with a DV-format project, make the image 720 pixels wide and 534 pixels high if you are working with NTSC footage, or 768 pixels wide and 576 pixels high if you are working with PAL footage.
- Draw an object. Any old object will do, so let your creative juices flow.
- When you are done drawing, choose a color from the color palette that was not used in your drawing (or whatever object you actually drew in Step 4).
- lick the Fill tool
- Click a blank area of the image to fill it with the new color.
- Save your picture and then close Paint.
- Open Pinnacle Studio and the project in which you want to use the overlay graphic.
- Click the Show Photos and Frame Grabs tab on the left side of the album.
- If your drawing doesn’t appear in the album, click the folder button at the top of the album and browse to the folder in which you saved your Paint graphic. By default, Paint saves files in the My Pictures folder.
- Drag the overlay graphic from the album and drop it on the title track of the timeline. The overlay image should now appear over the image in the video track, You’re probably wondering how Studio knows how to make the background of an overlay graphic transparent.
When you place a graphic in the title track, Studio looks at the color of the pixel in the upper-left corner of the image and removes that color from the entire image. For example, if the upper-left pixel is black, all black pixels become transparent, whereas pixels that are blue, red, yellow, or other colors will remain. You may need to experiment with some different background colors for the best results. I have found that black works best most of the time.

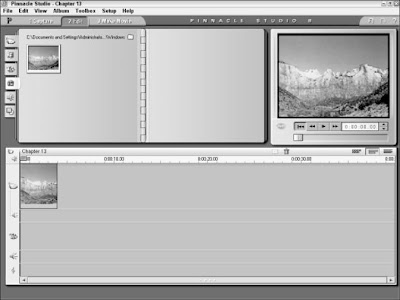
 I could start and end this section by simply saying “Click Play” under the preview window in your editing program. If you want to see a bigger preview in Apple iMovie, click the Play Movie Fullscreen button. If you are using Pinnacle Studio, alas, you are limited to the tiny, inflexible size of the Studio preview window.


